There are so many smartphones in the market with the same processor , same RAM , same memory , same screen. What’s the competition then? BRAND-NAME? NO!
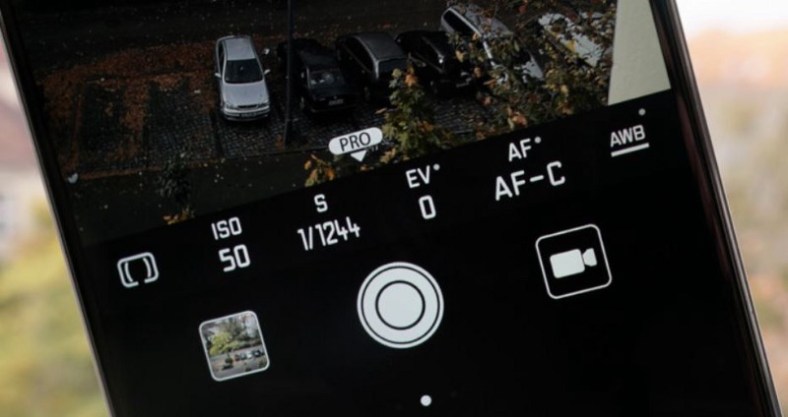
It’s the camera that these brand makes. It’s not about megapixels in smartphone camera. A 8 MP camera can be better than 48 MP camera. It’s about the software that these camera run on. Google Pixel uses different software , OnePlus uses different software , Honor uses it’s own tech , Samsung has got it’s own. But what is the difference? Why Google is the King of the Camera? OH YES! Google is the king of the camera and that’s why Pixel Series phone are so expensive. Not all the people can save to buy a Pixel. So we are here to discuss about all camera software and different sensors being introduced in camera.
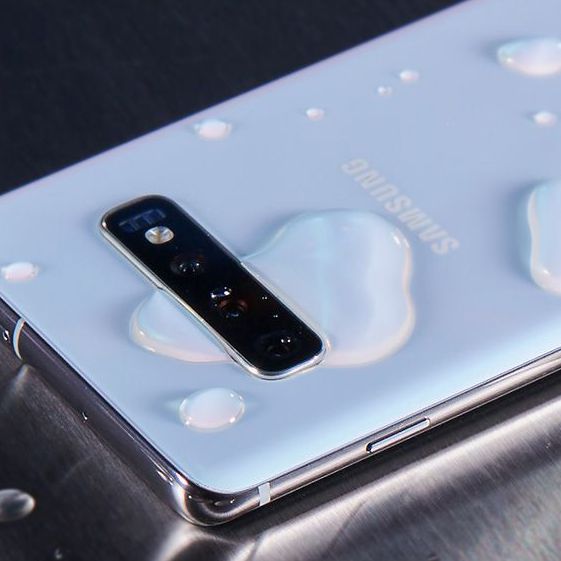
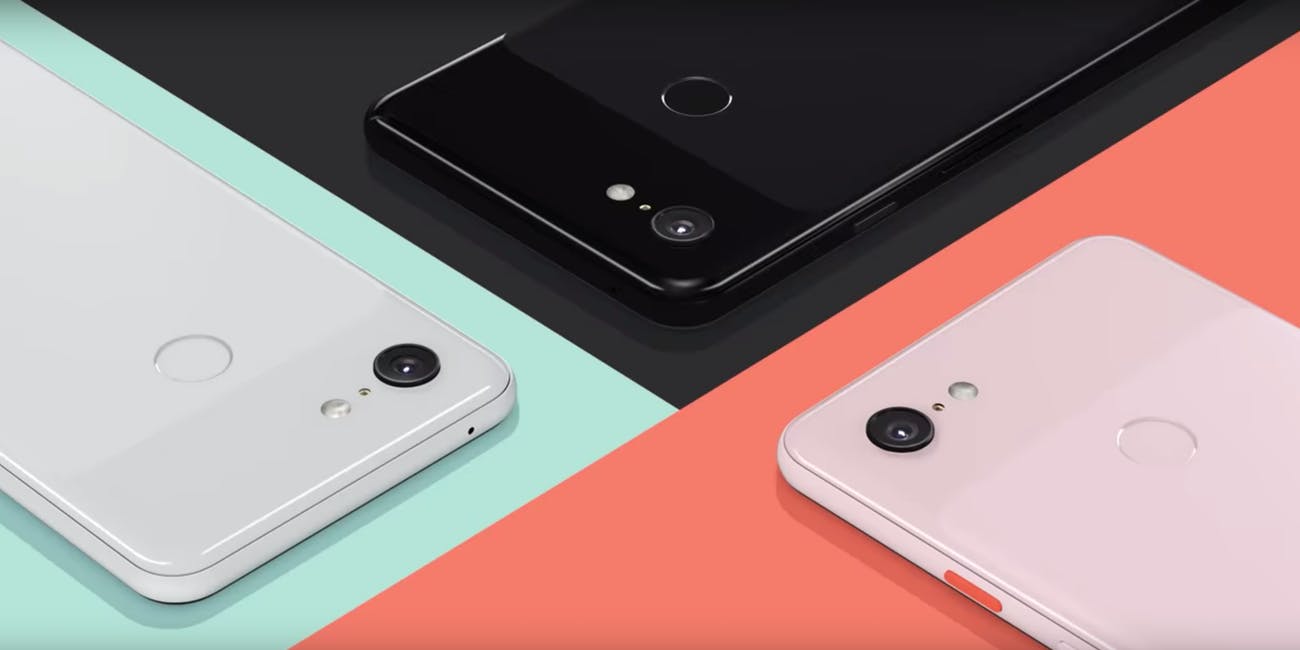
Pixel can store some serious Pixels!
OnePlus VS Samsung
OnePlus is the brand that has given the reality check Samsung needed on it’s cheap devices. When OnePlus was launched it completely took over the mid-range priced smartphone market by surprise. Though Samsung remained the winner in camera software for many years in mid-range tier smartphones and as well as in expensive smartphone market of-course trailing behind Google , because no one can beat google. Google has Pixels.

Not until OnePlus launched OnePlus 6. It was end of sale of Samsung mid-range priced phones because they were providing below average camera software. Software couldn’t auto focus , the brightness levels were low and so on. OnePlus 6 had such a great camera software that it was competing with Samsung flagship phones “The Galaxy Series” which were about 20,000 rupees expensive that is 300 dollars!. But the winner was Samsung. Samsung expensive phones ~ “The Galaxies” and “The Notes” were clear winner. Samsung had more color depth , more sharpness. Plus the low light photography or Night Mode was just outstanding in Galaxy phones. OnePlus was no were near in the competition in low light department. So at the end of the story Samsung was making very good cameras for expensive phones. OnePlus was winner of the camera department in mid-range.
But what is happening now?
OnePlus has launched it’s OnePlus 7 Pro and this time they are looking to compete with Pixel 4 (yet to be launched). Samsung has done okay and they are back in the mid-range market with there ‘A’ series phones but they just can’t make good cheap camera software’s , however there expensive phones are doing outstanding especially the Galaxy Series. They are no where near to OnePlus but are certainly doing well against other Chinese brand. Oh Chinese brand! By this we move into our next segment.
HONOR – “THE NEW HORSE”
Honor was relatively a new brand in the market when the camera war started. It has come a long way then and now stands in this market ; fighting a 5G cyber case. We are not here to talk about that. Honor has produced some series smartphones for all the budgets. It has given Apple and Samsung the run for there money.

Honor gave the word “Pro” the real meaning in the smartphone market. Every phone it launched they also launched it’s pro version much like OnePlus did. But Honor gave it a meaning, all it’s Pro phones had a better camera software which they called Pro software.
Currently in the market (with Pixel 4 yet to be launched) Honor has the best camera smartphone that is equipped with all kinds of sensor out there. It has 50X zoom which is just too much too have in a smartphone but it’s great. If you are into photography “Honor P30 Pro” is your choice but it’s definitely expensive priced as 70,000 rupees or 1,000 dollars. This is where OnePlus impress the most , it produces smartphone priced at 30,000 with camera’s as good as the Galaxies but yes you can not beat P30 Pro. Only one phone can beat it that’s Pixel 4..
New Tech In Camera Department
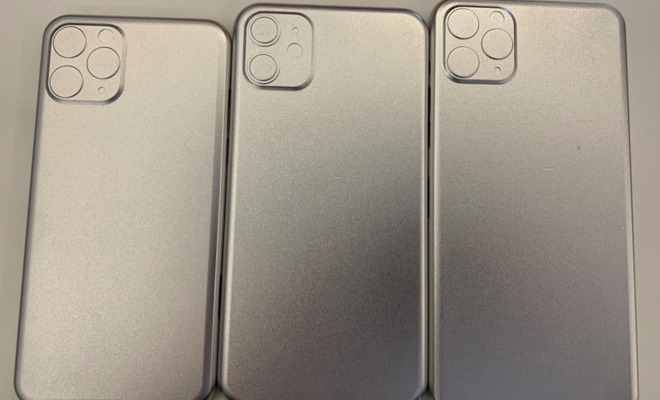
- Wide-Angle Camera:- When you click a photograph you want to capture as much surroundings you can generally. Introduction of another lens makes camera setup to a 3 lens setup which is usually what it is nowadays. Placement of this lens is important according to me. Most of the smartphone have 3 lens in a single row or a single column.
3 Lens Setup In Samsung 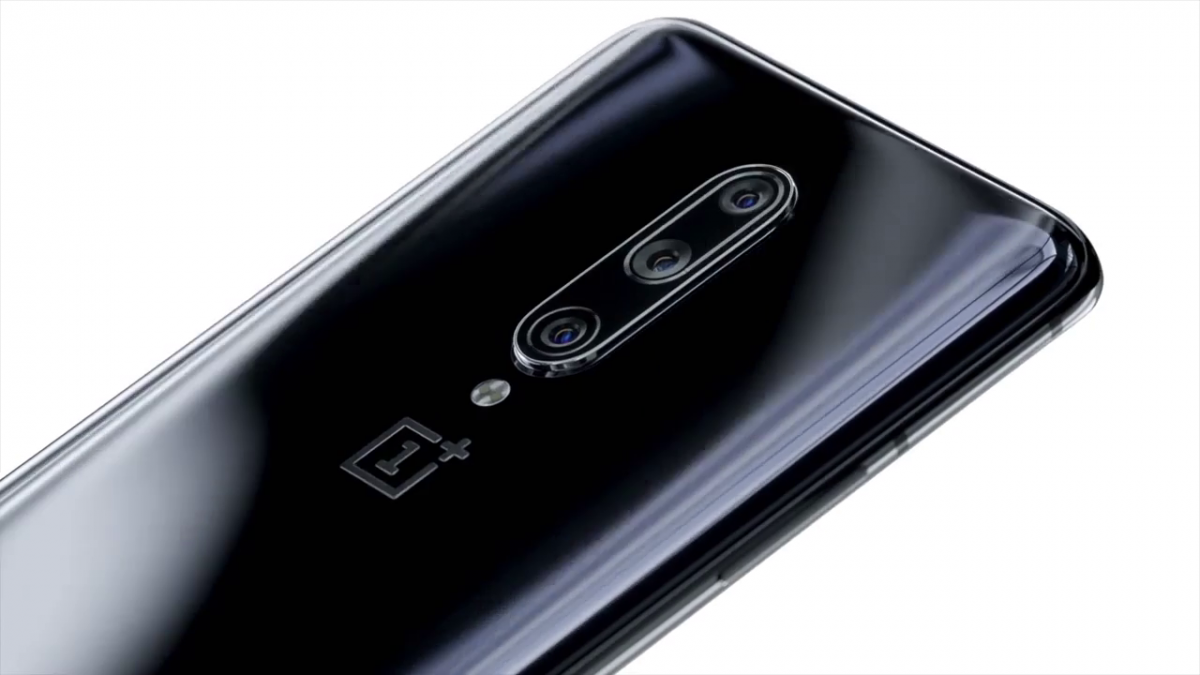
3 Lens Setup in OnePlus
Placement of wide angle lens helps to get that angle from where it can capture most of surrounding. Instead of going a straight setup the more efficient is square cutout. The square consists of dual camera setup in first column and then wide lens placed in between second column providing the lens that angle that can capture more surroundings.
- In-depth Sensor and Zoom:- First change was a physical change these changes are software changes. This is were competition arises. Depth in a photo is important it means more color contrast , more sharpness and overall a better image. Zoom is something every brand was looking to improve. Even a 2X zoom distorted images earlier. But it is a lot better nowadays. Honor has nailed it with there 50X zoom which works amazingly well. Oppo is another company which has done well in this department.
Asus Zenfone 6 flip flop
What a Tech! They have taken market by surprise. No one was expecting this , everyone was taken by surprise. When everyone was busy in pop up motors the Asus produced “flip-flop” Tech. It opens so many features in camera. Taking panorama standing still , let the camera rotate , why not? Since camera can rotate at any degree what’s the purpose of wide angles? Take photo at any angles!
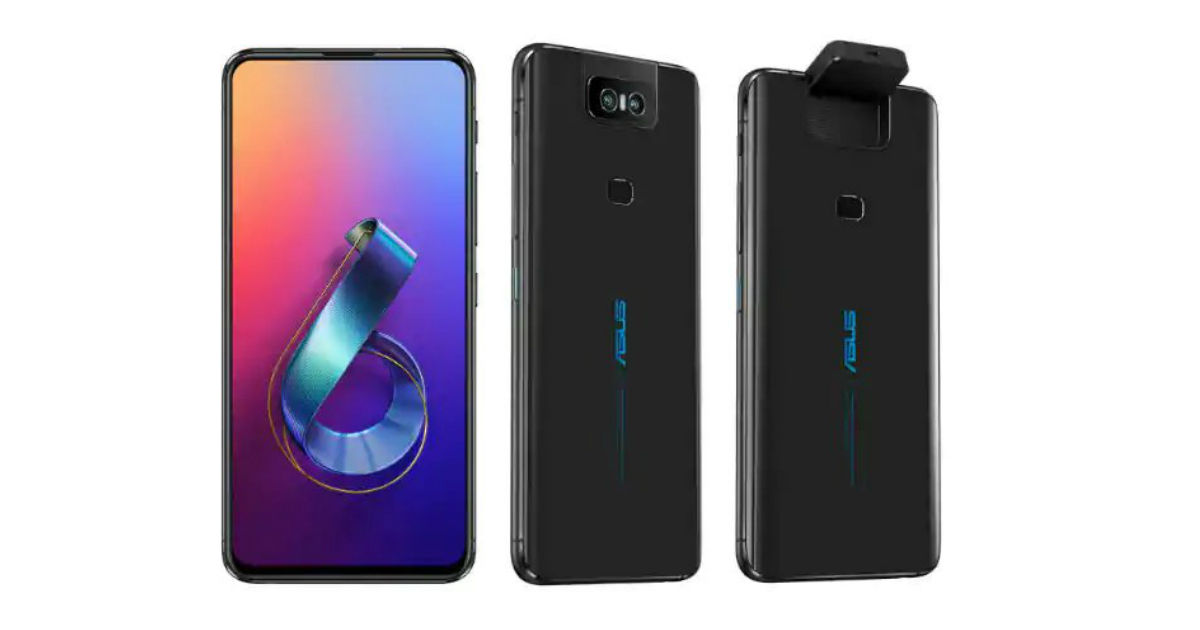
You can shoot while keeping your phone horizontally . There is so much to this Tech that it should have broken down the market but it’s the brand under which it is launched. Asus is not really into Phones they are predominately laptop brand. If this would have been launched by OnePlus , Google or even Samsung it would have stormed into market.
Ending with Google’s Pixel
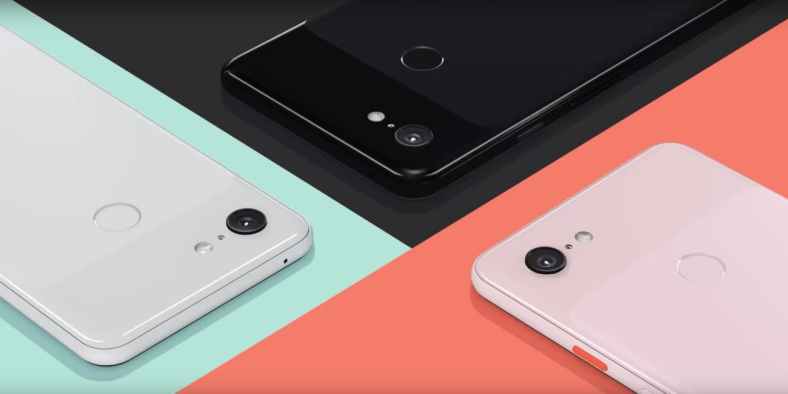
You cannot end a smartphone camera article without giving respect to Google. When everyone came out with dual camera’s , Google launched it’s weapon with a single camera and it became the “king of Camera”. This tells us software is as important as Megapixels in a camera. Google launched refurbished Pixel 3 on Amazon and it’s camera is still better than most of Samsung and OnePlus devices which is speechless.
The only thing we are waiting for is Pixel 4 at this point of time. I did not really talk about front facing camera’s. Xiaomi and Oppo are advertising under display front facing camera which is quite innovative. Innovations are getting better and better. I don’t know what we will see in the next year ,but this year has been about smartphone camera’s till now.